Prepare for the official test. Choose your language to begin your practice session.
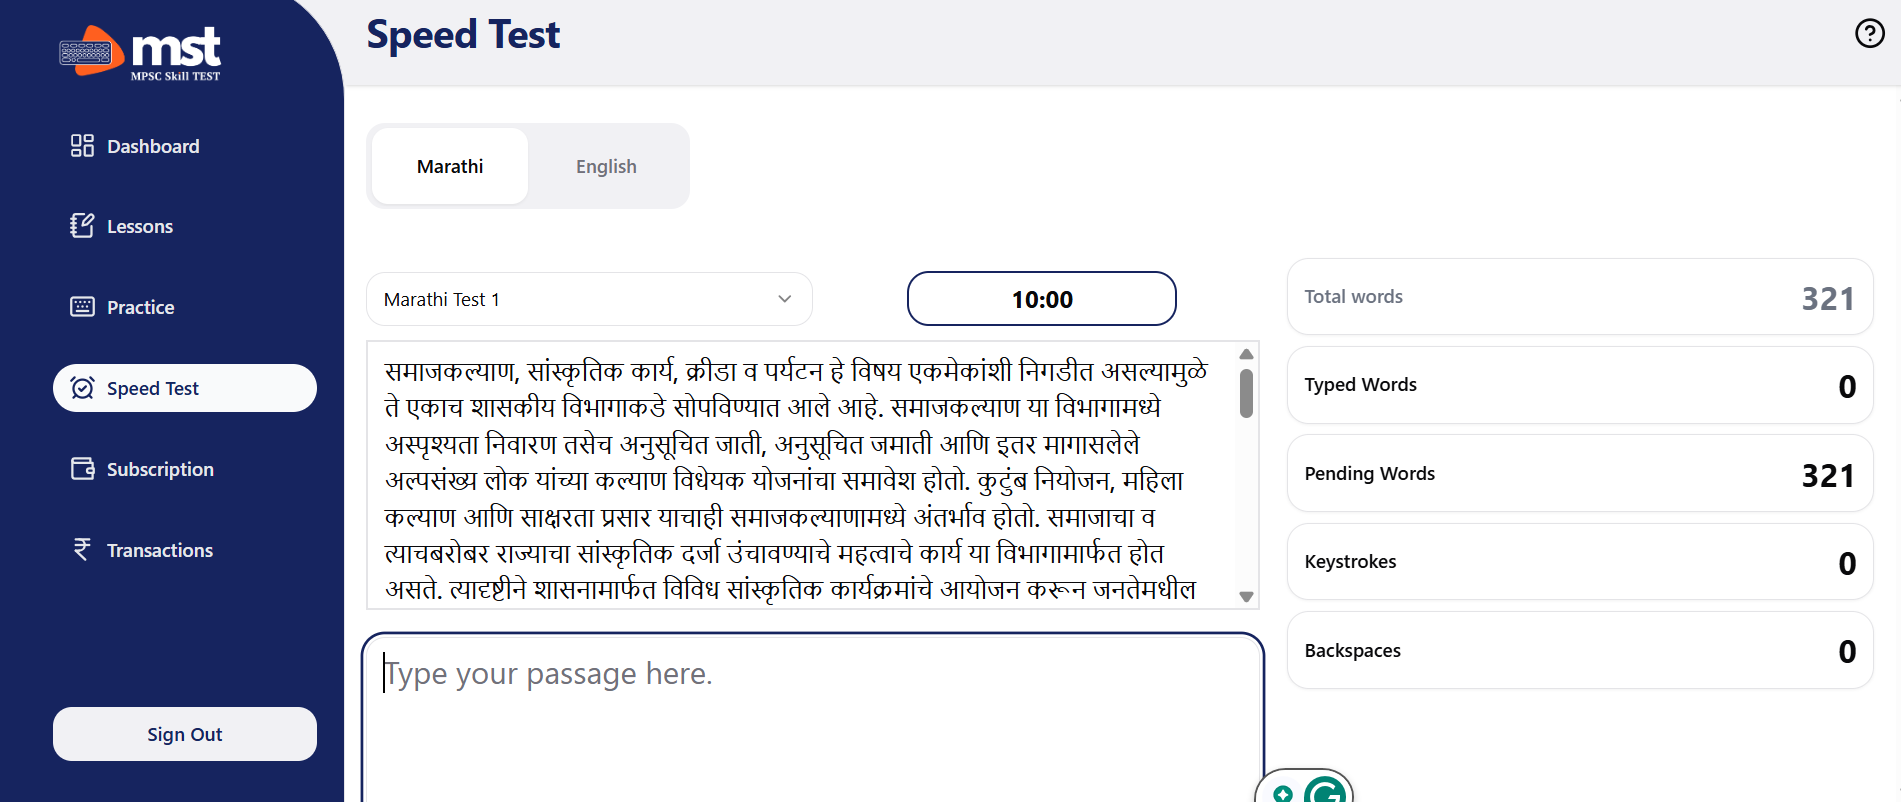
Marathi & English Practice Passages
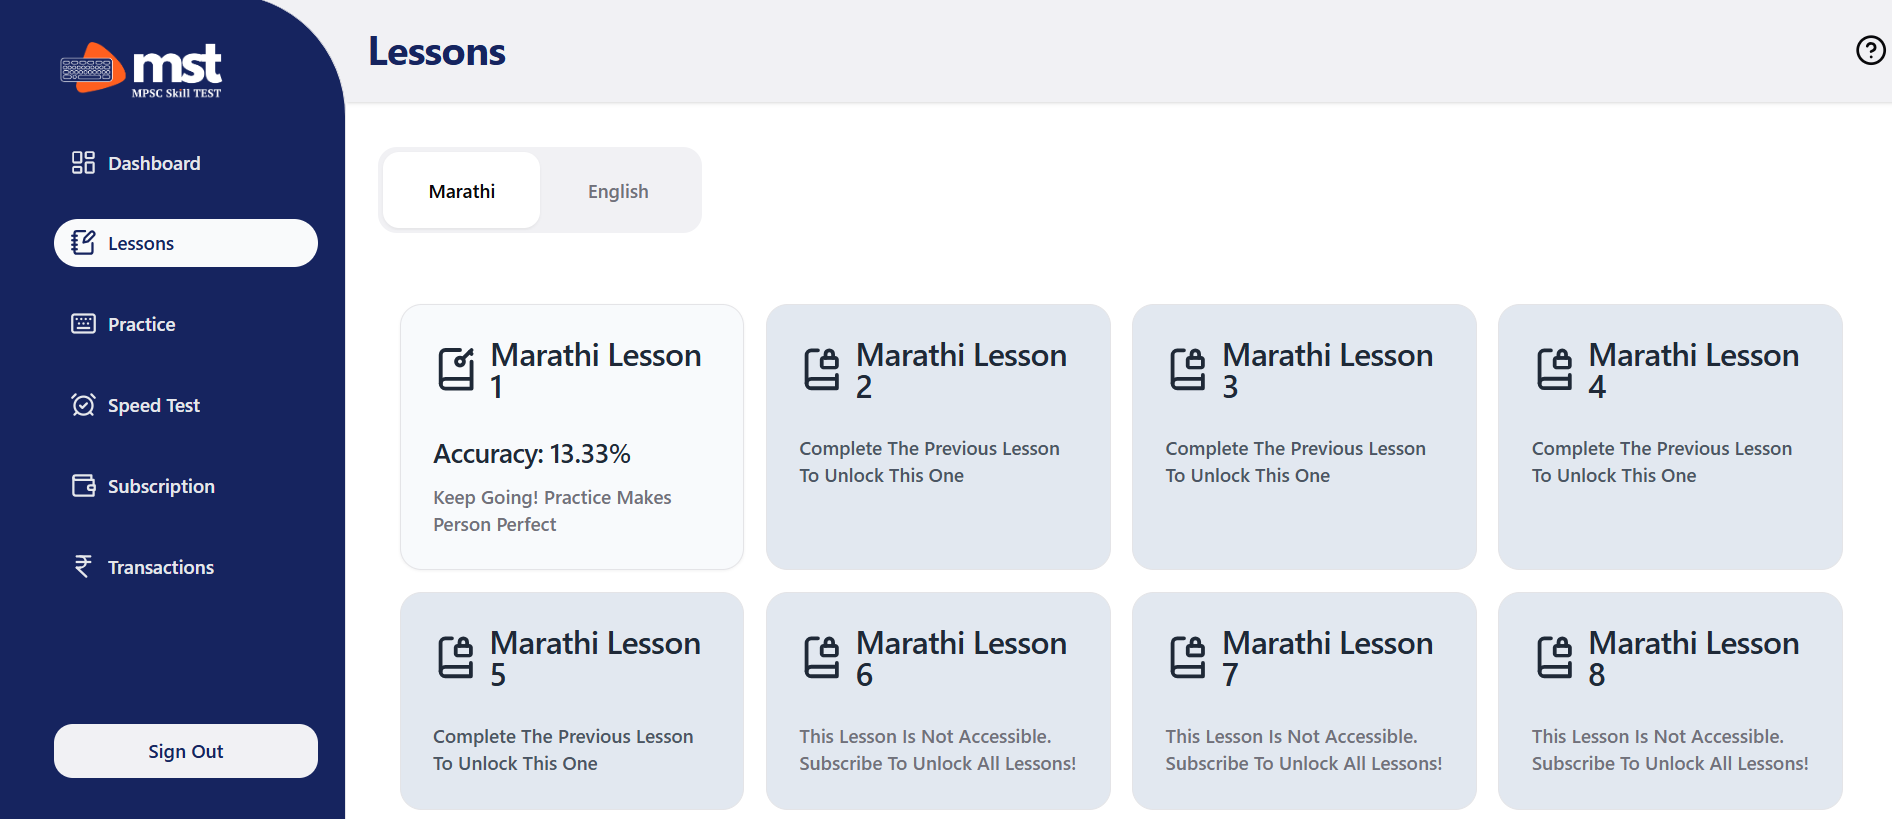
Marathi & English Lessons
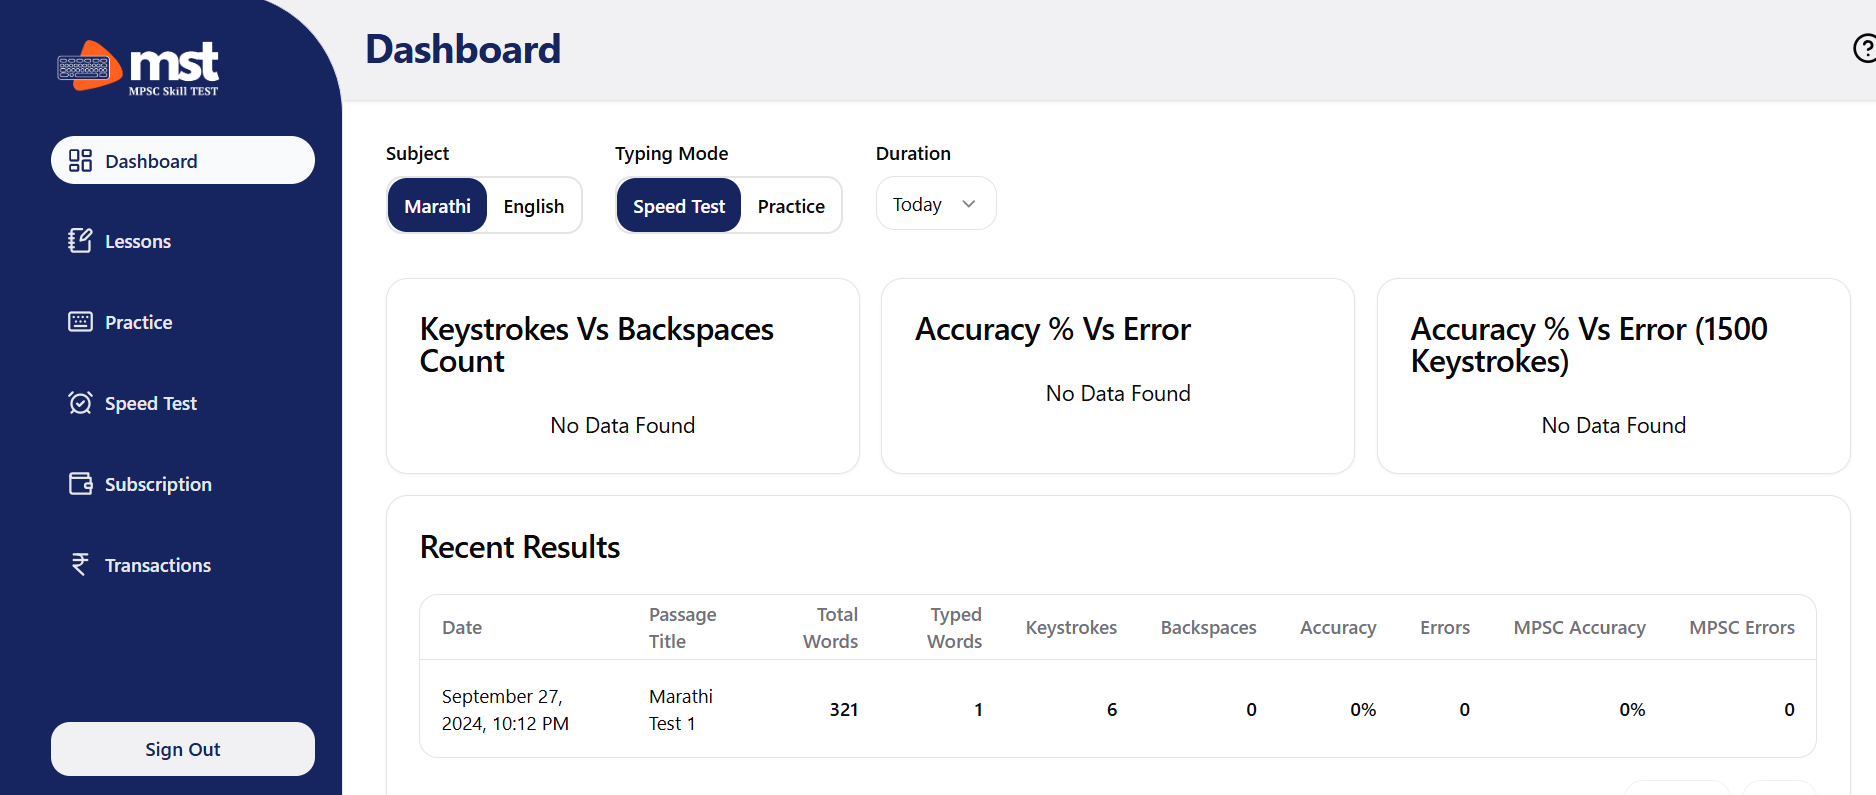
Exam Interface
From guided lessons to detailed analytics, our platform is built to make you a typing expert.
Master the keyboard with over 100+ carefully crafted lessons available in both Marathi and English. Our curriculum is designed to guide you from basic keystrokes to complex paragraphs, ensuring steady improvement at every stage. tplink usb printer controller setupexe top
Monitor your journey to becoming a typing pro with our advanced analytics tools. Visual data helps you pinpoint areas for improvement and celebrate your progress. The TP-Link router must feature a physical USB
The TP-Link router must feature a physical USB port and natively support the "Print Server" feature within its firmware. Note that some modern Wi-Fi 6/7 "AX" or "BE" series routers have removed legacy print server support in favor of storage sharing.
Locate the downloaded file, typically named TP-Link USB Printer Controller Setup.exe . Double-click the .exe file to begin the installation. 3. Installation Process
To configure the print server, you must complete two stages: hardware deployment and client software setup. Stage 1: Hardware Connections
Check physical USB connections and restart the controller utility. Print Server Status: Log into your router's web interface (usually 192.168.0.1 ) and ensure the USB Settings > Print Server is set to "Online" or "Enabled." Compatibility:
: Most TP-Link routers have the Print Server function enabled by default. If it isn't working, log in to your TP-Link router management page (usually http://tplinkwifi.net ) and ensure Print Server Status is "Online" or "Enabled" under USB Settings . 2. Download and Installation
Monitor printer status and connect/disconnect remotely.